Step by Step: How to Use Red Light Therapy for Bruises
Bruises are one of the typical outcomes of minor injuries. While they can self-heal, red light therapy could be a great alternative in speeding up recovery. Red light therapy helps your body heal better. RLT can be useful for recovery if you have cheek fillers, tummy tuck, or even a small burn.
This treatment does not require surgery and uses low-level lasers or LED lights to lower swelling, ease pain, and help cells heal. Let's discuss how to use red light therapy for bruises healing so that you can get back to your daily activities faster.
Table of content
Understanding Bruising

Bruising is one of those commonplace incidents that nearly everyone has encountered. It may be just bumping into the table or something more severe. So, how do these unsightly marks appear, and what is the best approach to speed up healing? To take care of bruises, you need to understand what bruises are, what causes them, how long they take to heal, and what signs to look for.
What Causes Bruises?
A bruise, or contusion, is the bursting open of small blood vessels next to the skin surface by some form of impact or trauma. The color changes because of blood leakage into surrounding tissues. The following factors contribute to one being prone to bruising:
Trauma or Injury: Trauma or injury from an object is the most frequent cause of bruises.
Medical Conditions: For instance, if your blood doesn't clot or other blood disorders increase the bruising tendency.
Medications: Blood thinner drugs increase the tendency to bruise.
Age: As we age, skin thins, and the blood vessels weaken, increasing the chances of bruising.
How Long Does It Take for a Bruise to Heal?
Stage 1 (Days 1-2): The bruised area is red because fresh blood gathers under the skin.
Stage 2 (Day 3-5): When hemoglobin in the blood breaks down, a bruise can change color to blue, purple, or dark purple depending on how deep the injury is.
Stage 3 (Day 6—Day 10): The color is changing because of the body breaking up its hemoglobin, which is changing from green.
Stage 4 (Day 11 - Day 14): The bruise appears yellow or brown while healing. People with health problems in how their blood clots usually take longer.
How Does Red Light Therapy for Bruises Work in Healing?

Inhibition of ATP Production: ATP stands for Adenosine triphosphate which is like a power supply for the cells. It gives the cells the zest to heal themselves, therefore healing faster.
Increase blood circulation: RLT, with better oxygen and nutrient content, increases the regeneration of tissues.
Reduces Inflammation: Red light decreases the severity of inflammation and swelling, leading to pain because of a bruise.
Encourages Collagen Productions: Collagen is crucial to skin repair. The treatment enhances collagen production, restoring health more quickly and rapidly at damaged sites.
Benefits of Red Light Therapy for Bruises
Speeds up Recovery: It reduces the time required to heal a bruise. Red light increases cellular repair and shortens the time for recovery.
Non-Invasive and Pain-Free: Compared to other treatments, red light therapy is non-invasive. RLT doesn't require downtime for minor or severe injuries.
Safe and Natural: Since it uses natural light waves, the treatment is safe and side effect-free, with few allergic reactions.
Easy Application: The therapy helps lighten bruises. Its countless benefits, including healthy skin, faded scars, and pain relief, make it worthy of use in countless treatments.
Combination Friendly: Topicals or other therapies like massage enhance results when combined with RLT.
Steps to Use Red Light Therapy for Bruise Recovery
Preparing the Skin for Treatment
1. Cleansing the skin: Clean the bruised area with soap and warm water. This will remove all oils and dirt or debris.
2. Gently pat dry: Pat the skin dry with a soft towel after cleaning. Avoid rubbing, as it can make it worse.
3. No lotions or creams: Make sure your skin is clean and does not have any lotions or creams on it. Some of these products can react poorly to light.
Selecting the Right Red Light Therapy for Bruises Device
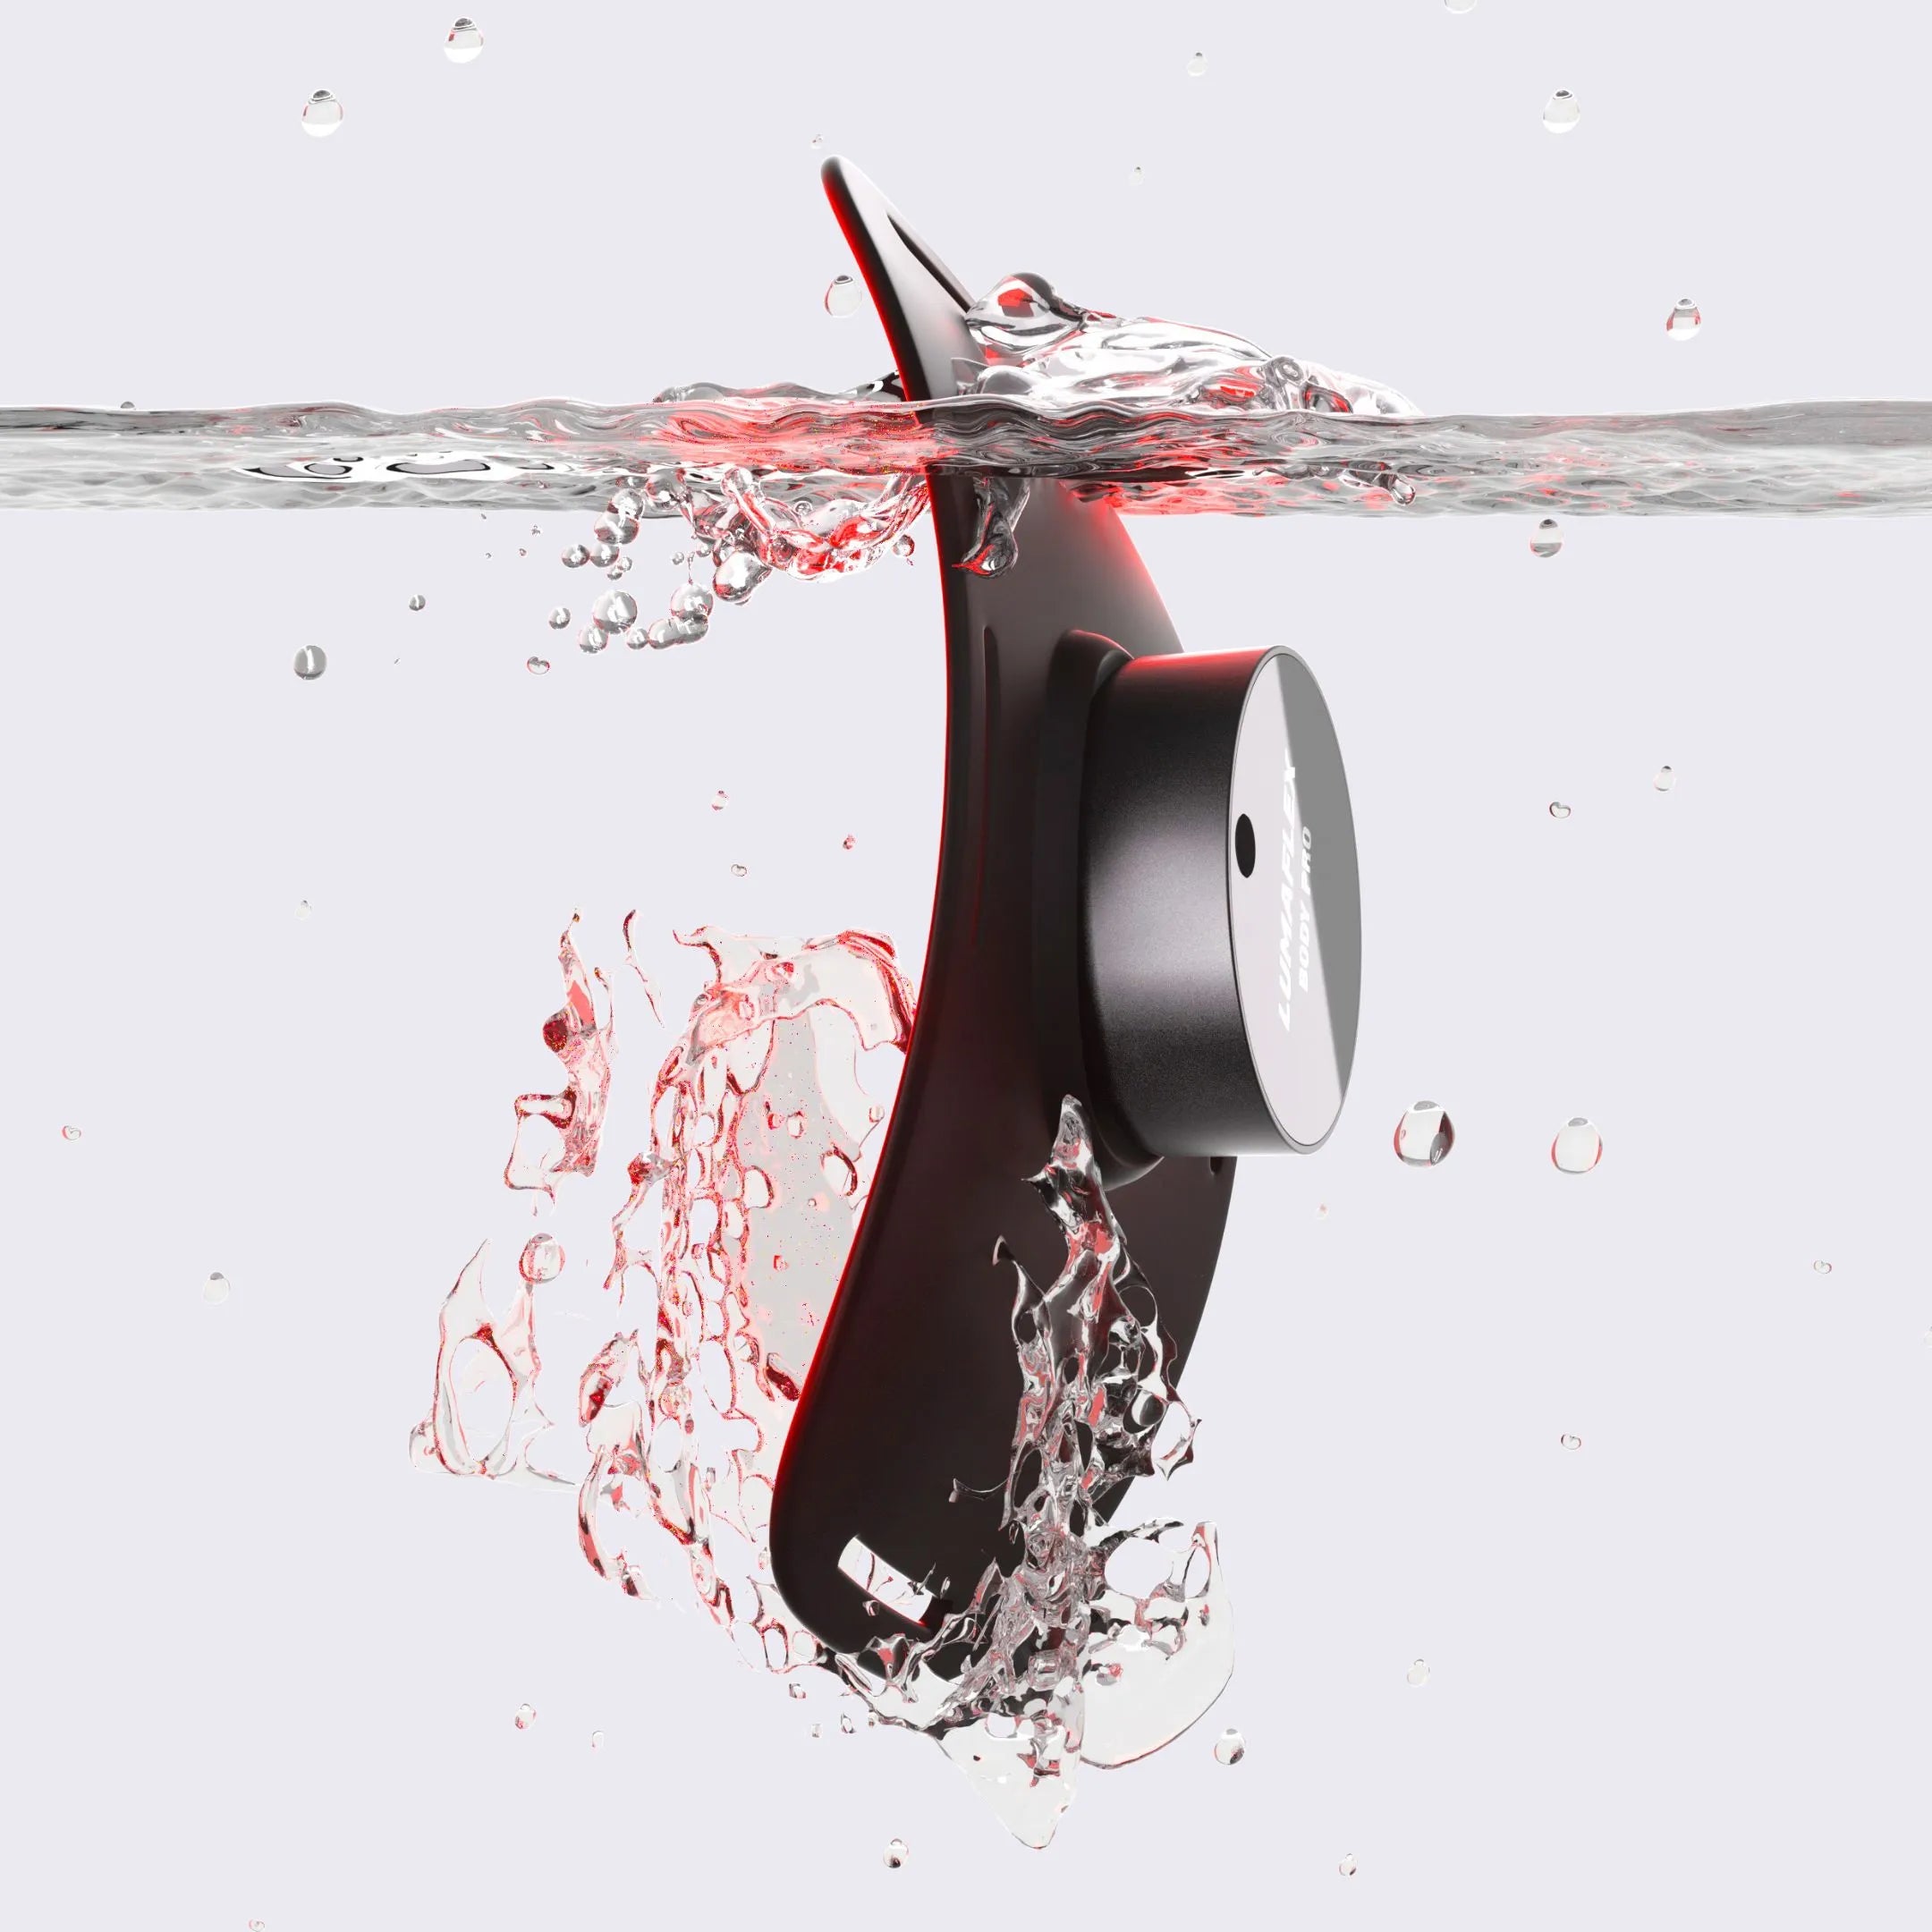
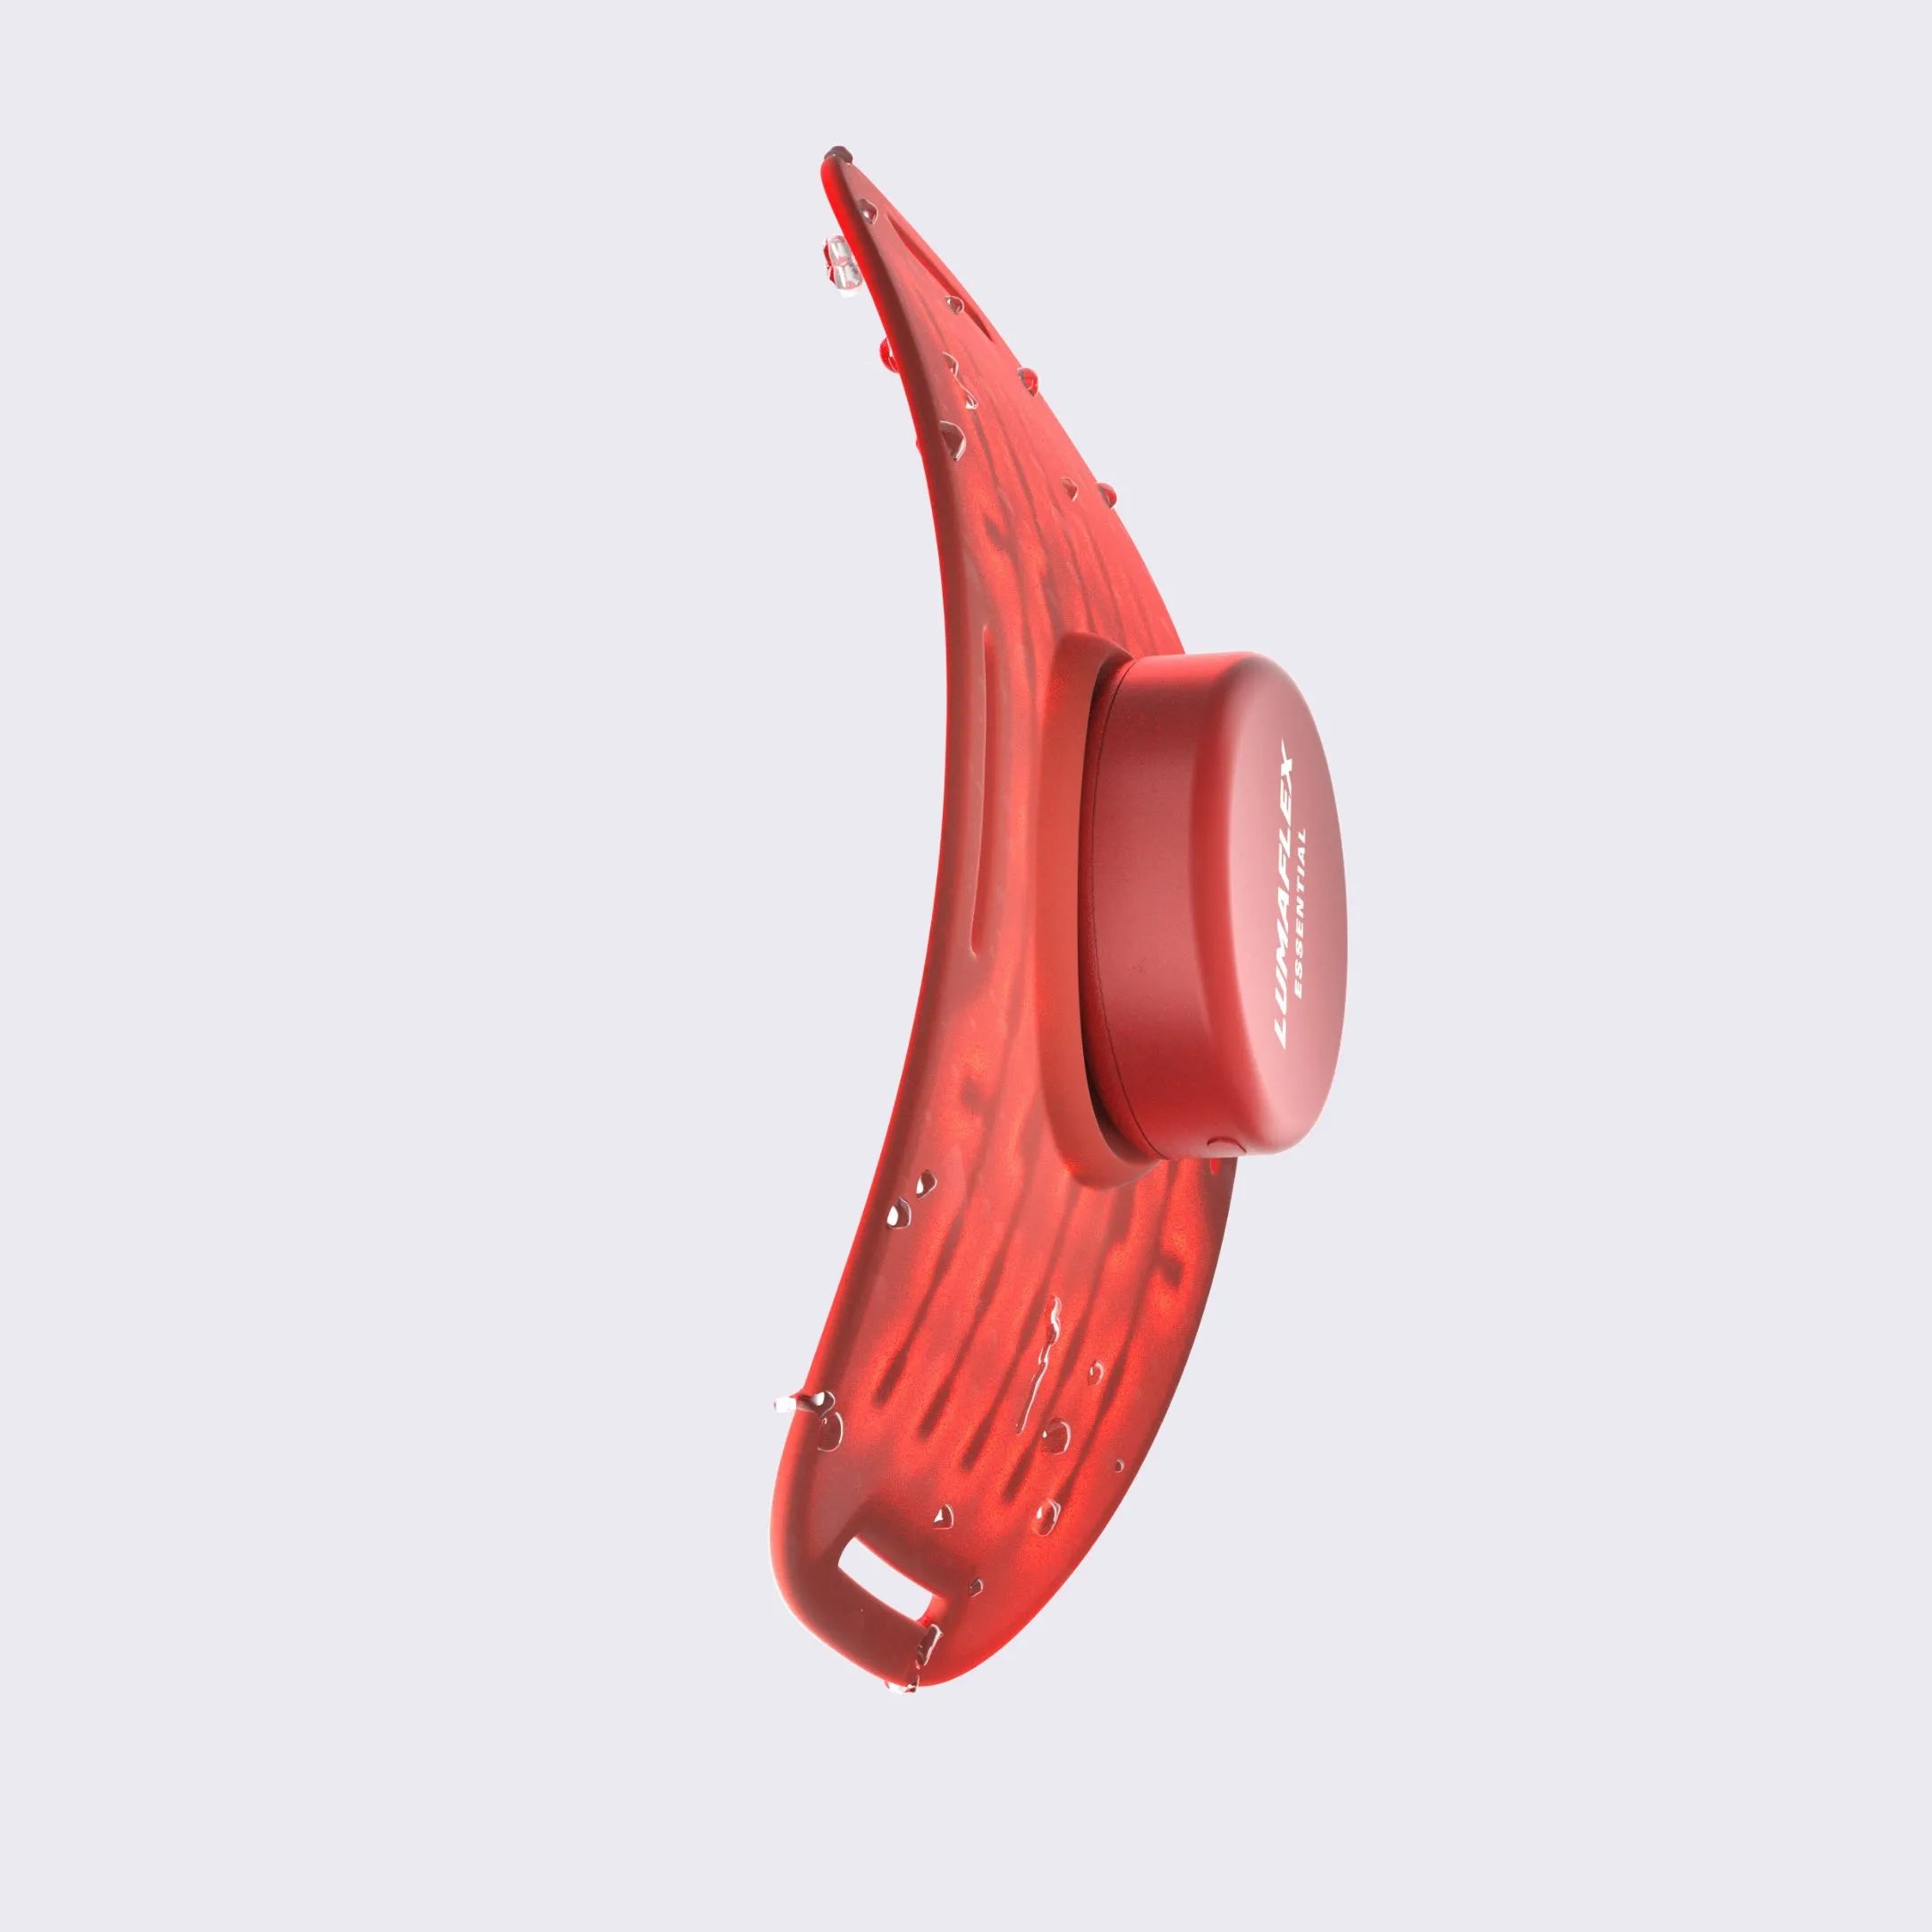
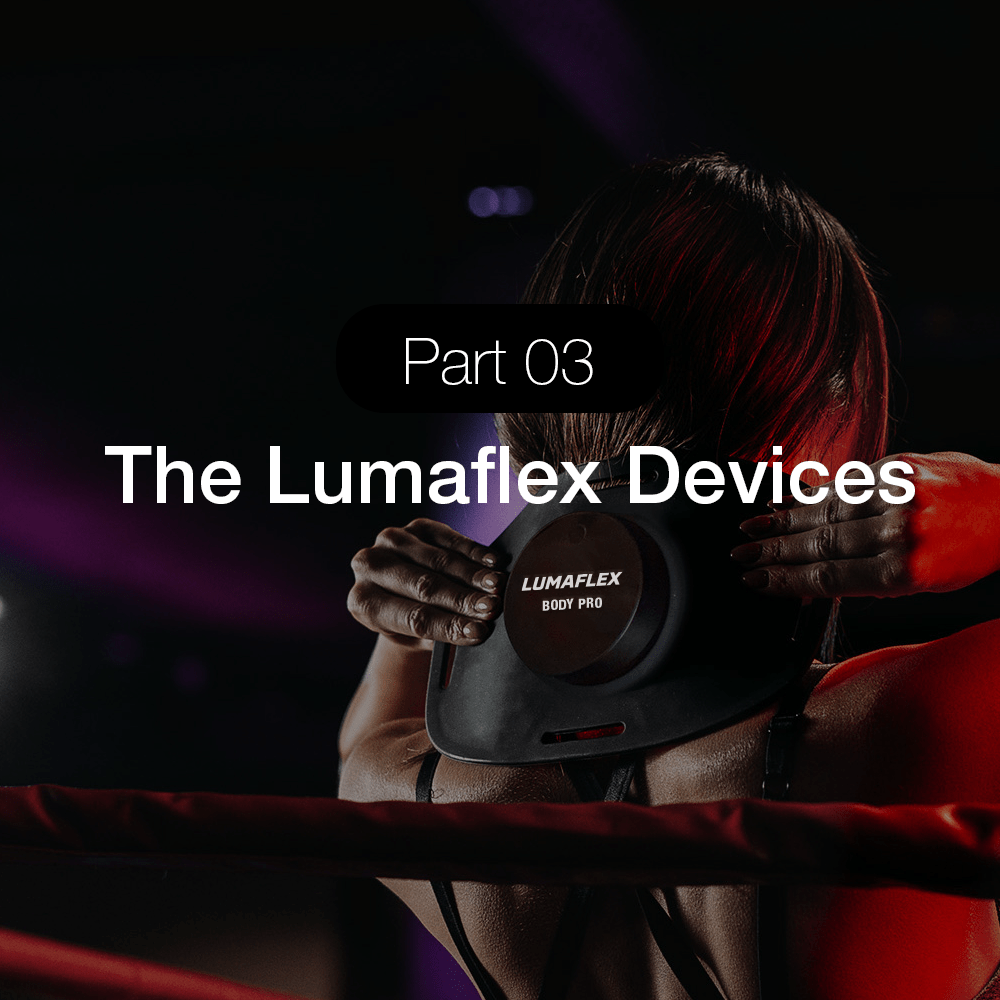
Decide on the Type of Device: There are many kinds of red light devices, such as handhelds, lamps, or panels. A handheld is a good option in case the area is small, while a panel covers a greater area for a bruise.
Check the wavelength: The device should emit within the 650 nm to 850 nm wavelength range. It penetrates well into the body within this wavelength, where the effects will manifest.
Output Power: Review values of power output in milliwatts per square centimeter. Values represent the intensity of devices that will probably cause shorter treatment times.
Setting the Appropriate Red Light Therapy for Bruises Time and Frequency
Determine Session Duration: Most treatments take 10-20 minutes. Time depends on the nature and intensity of the bruise and the device's intensity. Start with shorter sessions and observe how your skin responds.
Frequency: Carry out red light therapy at least 3-5 times per week to achieve the maximum desired outcome. Consistency accelerates the healing process in bruising.
Monitoring Change: Observe changes in the appearance of the bruise. Avoid having to overexpose your skin, which will only lengthen the healing process.
Application Technique for Different Body Areas
Bruises of the Face: The face is sensitive, especially for cheek fillers or bruises. Use mild application techniques. Avoid getting too close to the skin, a few inches, to avoid trapping heat in.
Larger Body Areas: Use a panel device for larger areas. Ensure even coverage and slightly overlap treatment zones to ensure complete coverage.
Joint Areas: For bruises near joints, maintain an ergonomic posture to expose the area thoroughly. You can do this by sitting or lying down comfortably during therapy.
Natural Remedies to Pair with Red Light Therapy for Bruises
- Arnica Gel or Cream: Arnica is particularly prized for minimizing the onset of bruising and swelling. Apply it lightly over the affected areas during light therapy.
- Aloe Vera: Aloe vera calms the skin, reducing inflammation and thus relieving pain. Rub a thin layer of aloe vera gel on the affected area right after a treatment session.
- Warm Compression: After the treatment, apply warm compression. This encourages blood flow and thereby helps spread the blood responsible for the color change.
Safety Precautions When Using Red Light Therapy for Bruises
Proper Use of Equipment: Find a certified device of the highest quality for personal use. Check if it has approval from the FDA or other certifications that ensure safety standards.
Eye Protection: Direct exposure to the device may be painful and sometimes harmful. Thus, always wear protective goggles or keep your eyes closed.
Skin Sensitivity Test: The device should first be applied to a small area of the skin. You can then determine whether there might be unusual reactions. After which you can extend it to a larger area.
Follow Recommended Guidelines: You should not stay for more than the time recommended for the process. Prolonged exposure does not necessarily increase benefits and may cause skin irritation or burns.
Do not use it on broken skin: Using the device on cuts or skin infections can make the irritation worse or cause more problems.
Talk to a doctor before starting red light therapy. These tips can help you have a better experience with red light therapy. Speed up recovery from bruises while reducing risks.
Conclusion: Red Light Therapy for Bruises
In a nutshell, red light therapy for bruises is a promising means to speed up the healing. According to the steps described, patients may benefit from faster healing and a more radiant appearance.
Remember to regularly apply the therapy and be patient since perfect results may take some time. With the developments of light therapy, with Lumaflex being an example, the benefits reach beyond bruise healing. Make it a part of enhancing skin health and healing processes.


